
Connecting SimpleTexting
Integrating SimpleTexting with the CRM
In this guide, we will walk you through the process of integrating SimpleTexting with the CRM.
Step-by-Step Instructions
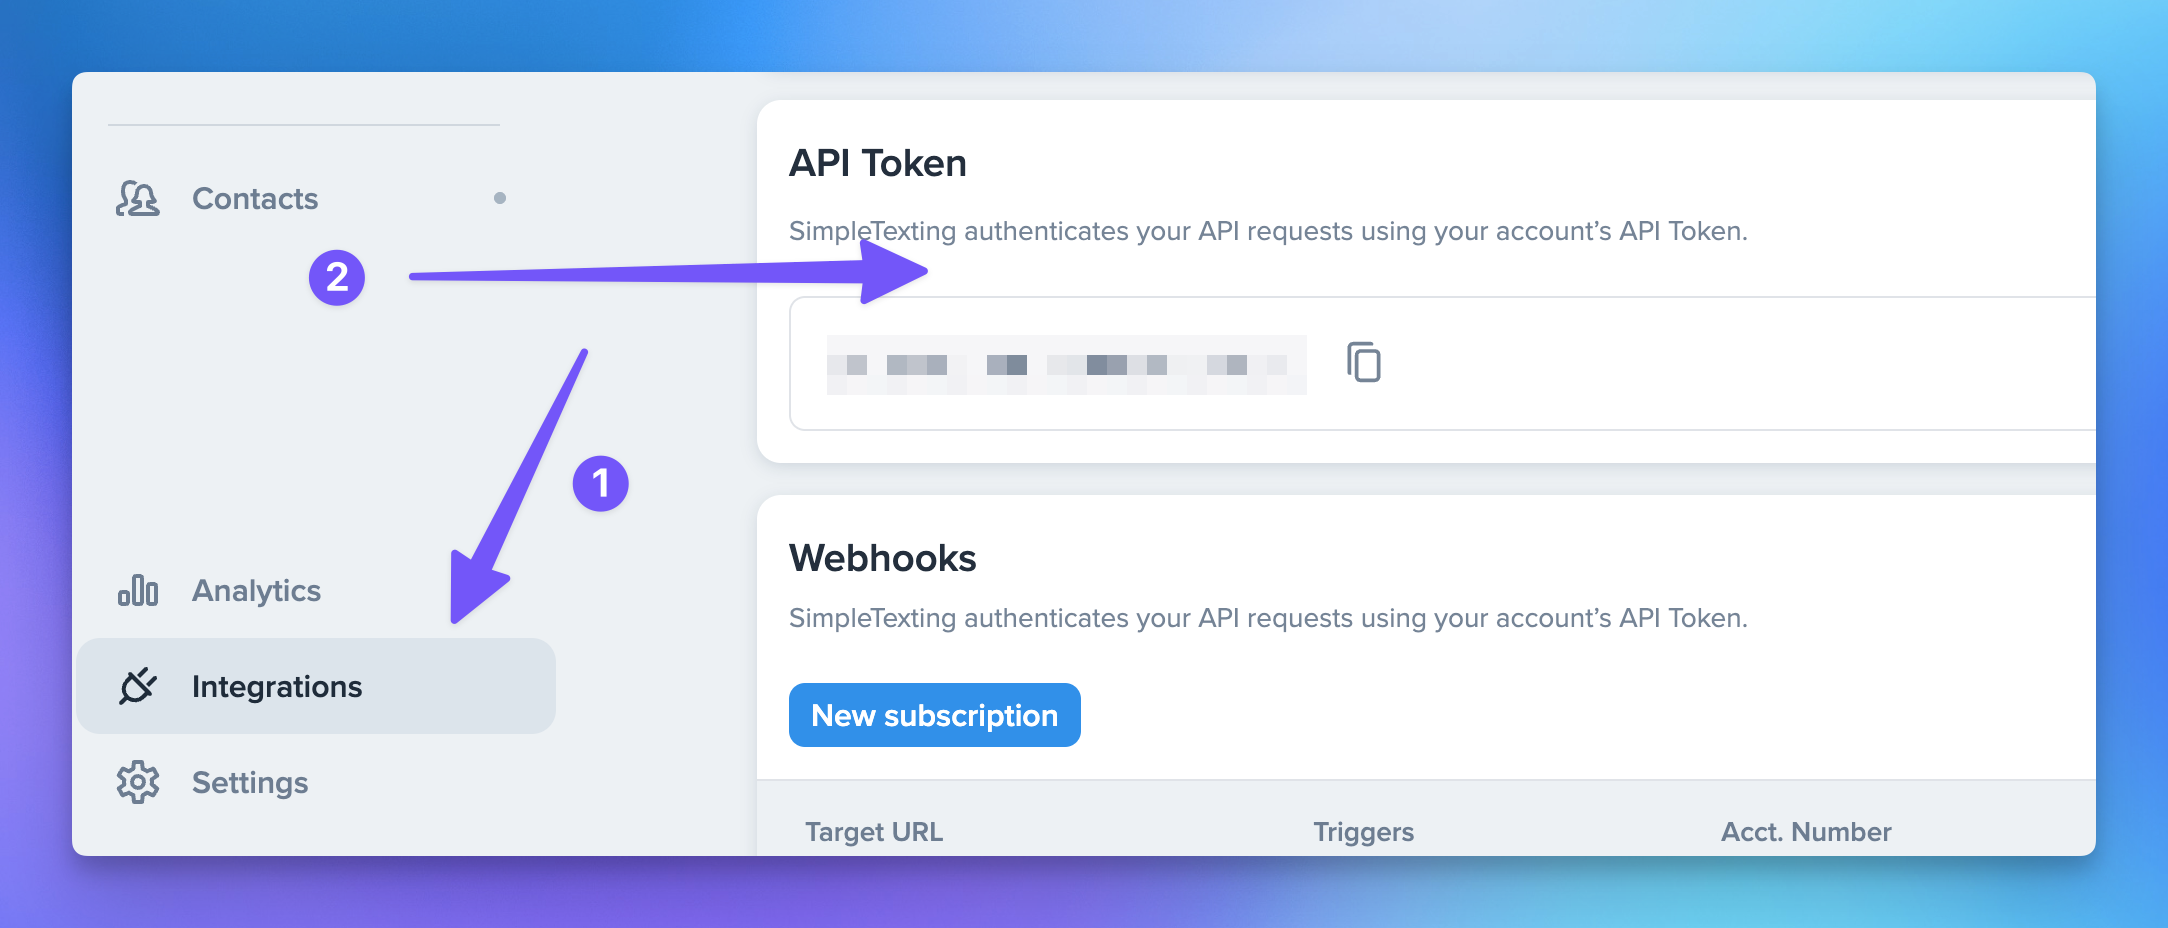
Log into SimpleTexting and Navigate to Integrations: The first step involves logging into your SimpleTexting account. Once you are logged in, navigate to the Integrations section. This section is typically located in the account settings or the main dashboard area, depending on your SimpleTexting account type.
Find the API Tokens Area and Generate a New One: In the integrations section, look for the API tokens area. API tokens are unique identifiers that authenticate a user or application to access certain server resources. Click on the option to generate a new token.
Copy the Token: As soon as the new API token is generated, make sure to copy it. It is crucial to store it securely as it will be needed for the integration process.
Navigate to the Integrations Section in Your CRM Settings: Now, switch over to the CRM and find the Integrations section in your settings page. This is where you can manage all integrated applications.
Connect to SimpleTexting: In the integrations list, find SimpleTexting and click the connect button. This will prompt you to enter the API token.
Paste the API Token: Paste the API token that you copied from SimpleTexting into the required field and complete the integration process. Once this is done, SimpleTexting should be successfully integrated with your CRM.
Now you're all set to leverage the power of SimpleTexting within your CRM. Enjoy the convenience of sending, receiving, and managing text me ages all from one place.