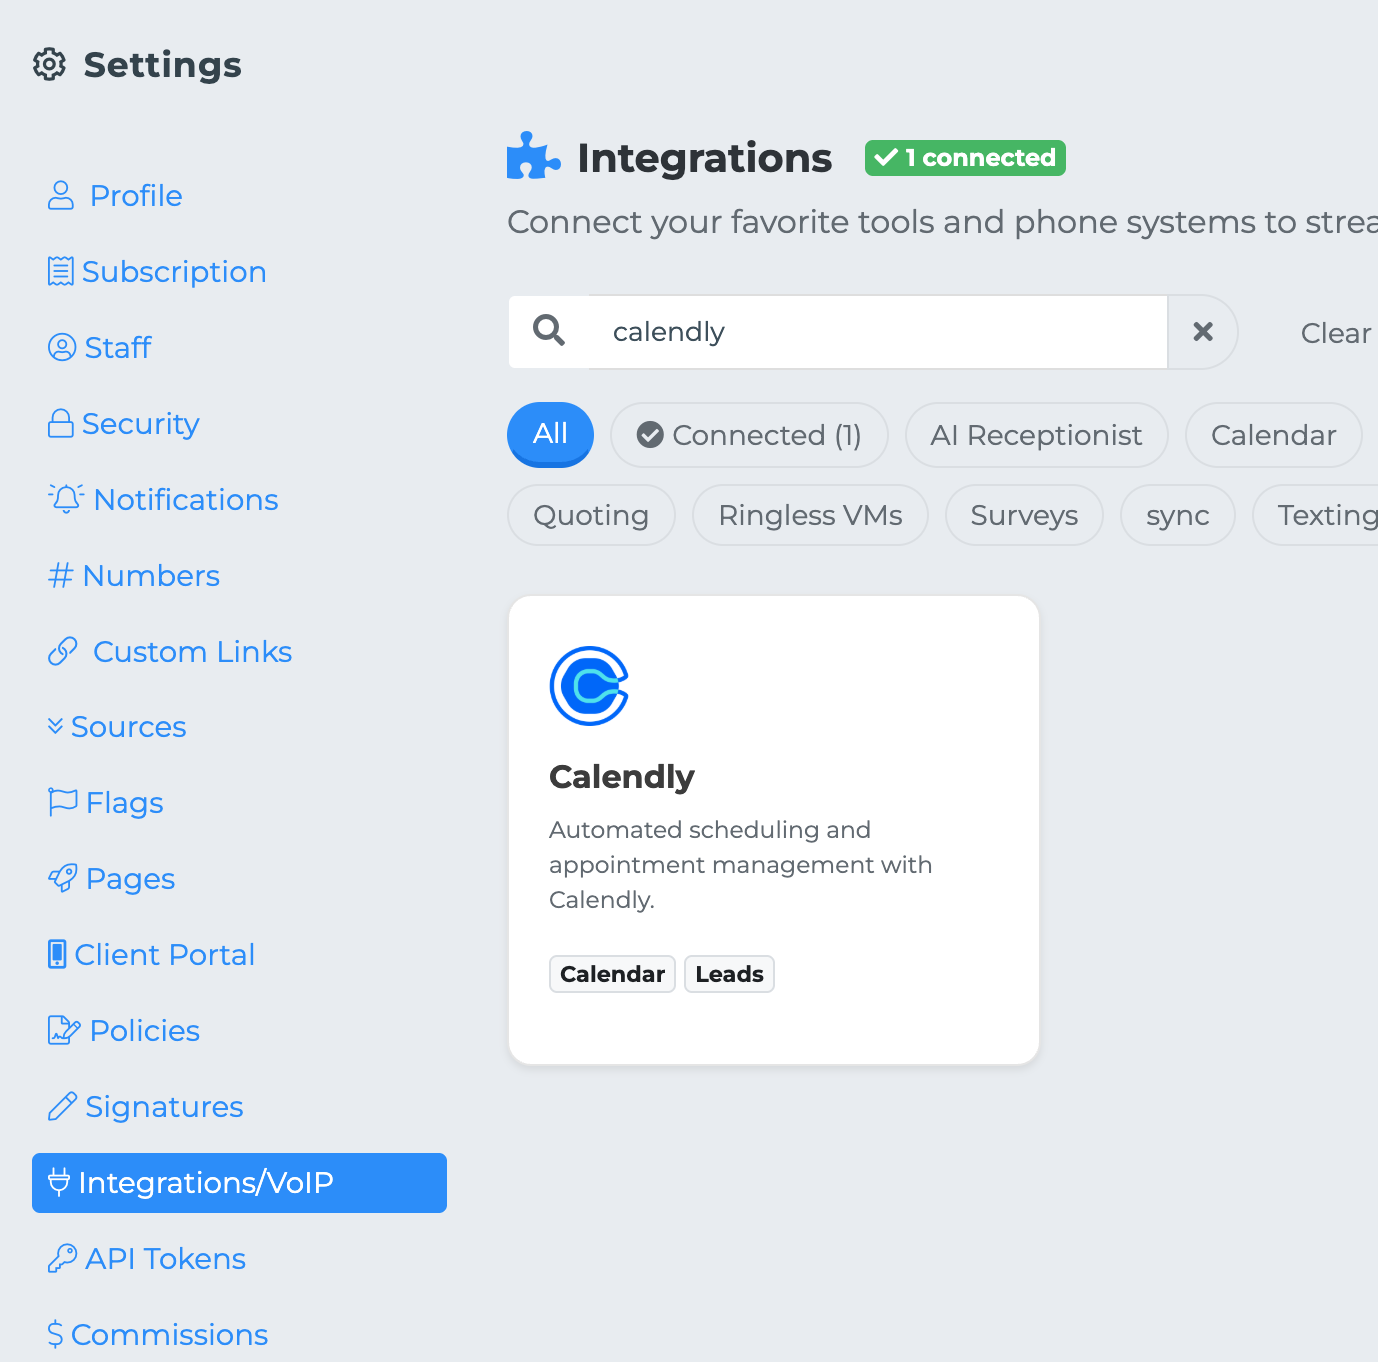
Connecting Calendly
This document provides a step-by-step guide on how to integrate your Calendly account with MedicareProCRM using API tokens. Following these instructions will ensure a seamless connection between the two platforms, enhancing your scheduling capabilities.
Steps to Generate an API Token in Calendly
To begin the integration process, follow the steps outlined below:
Accessing Your Calendly Account
First, log in to your Calendly account. Once you are logged in, navigate to the Integrations section located in the navigation bar.
Finding the API & Webhooks Section
Scroll down the Integrations page until you reach the section titled "API & Webhooks." Click on this section to proceed.
Generating a New Token
On the API & Webhooks page, locate and click the "Generate new token" button. This action will open a modal window for token creation.
Naming Your Token
In the token modal, you will be prompted to give your token a name. It is advisable to choose a name that will help you remember its purpose, such as "MPCRM."
Copying Your Token
Once your token has been generated, it is crucial to copy it immediately. Paste the token into a secure location, such as a Word document, as you will need it for the integration process.
By following these steps, you will successfully generate an API token that can be used to integrate Calendly with MedicareProCRM. Ensure that you keep this token secure, as it is essential for the connection between the two platforms.