
Creating an Override Schedule
This document serves as a comprehensive guide to the Overrides page within the Agency Platform. It will provide you with the necessary steps to establish override schedules for various companies and policy types, ensuring that you can effectively manage your overrides.
Accessing the Overrides Page
To begin, navigate to your Agency Platform. Click on your initials located in the top right corner of the screen, and then select the "Overrides" option from the dropdown menu.
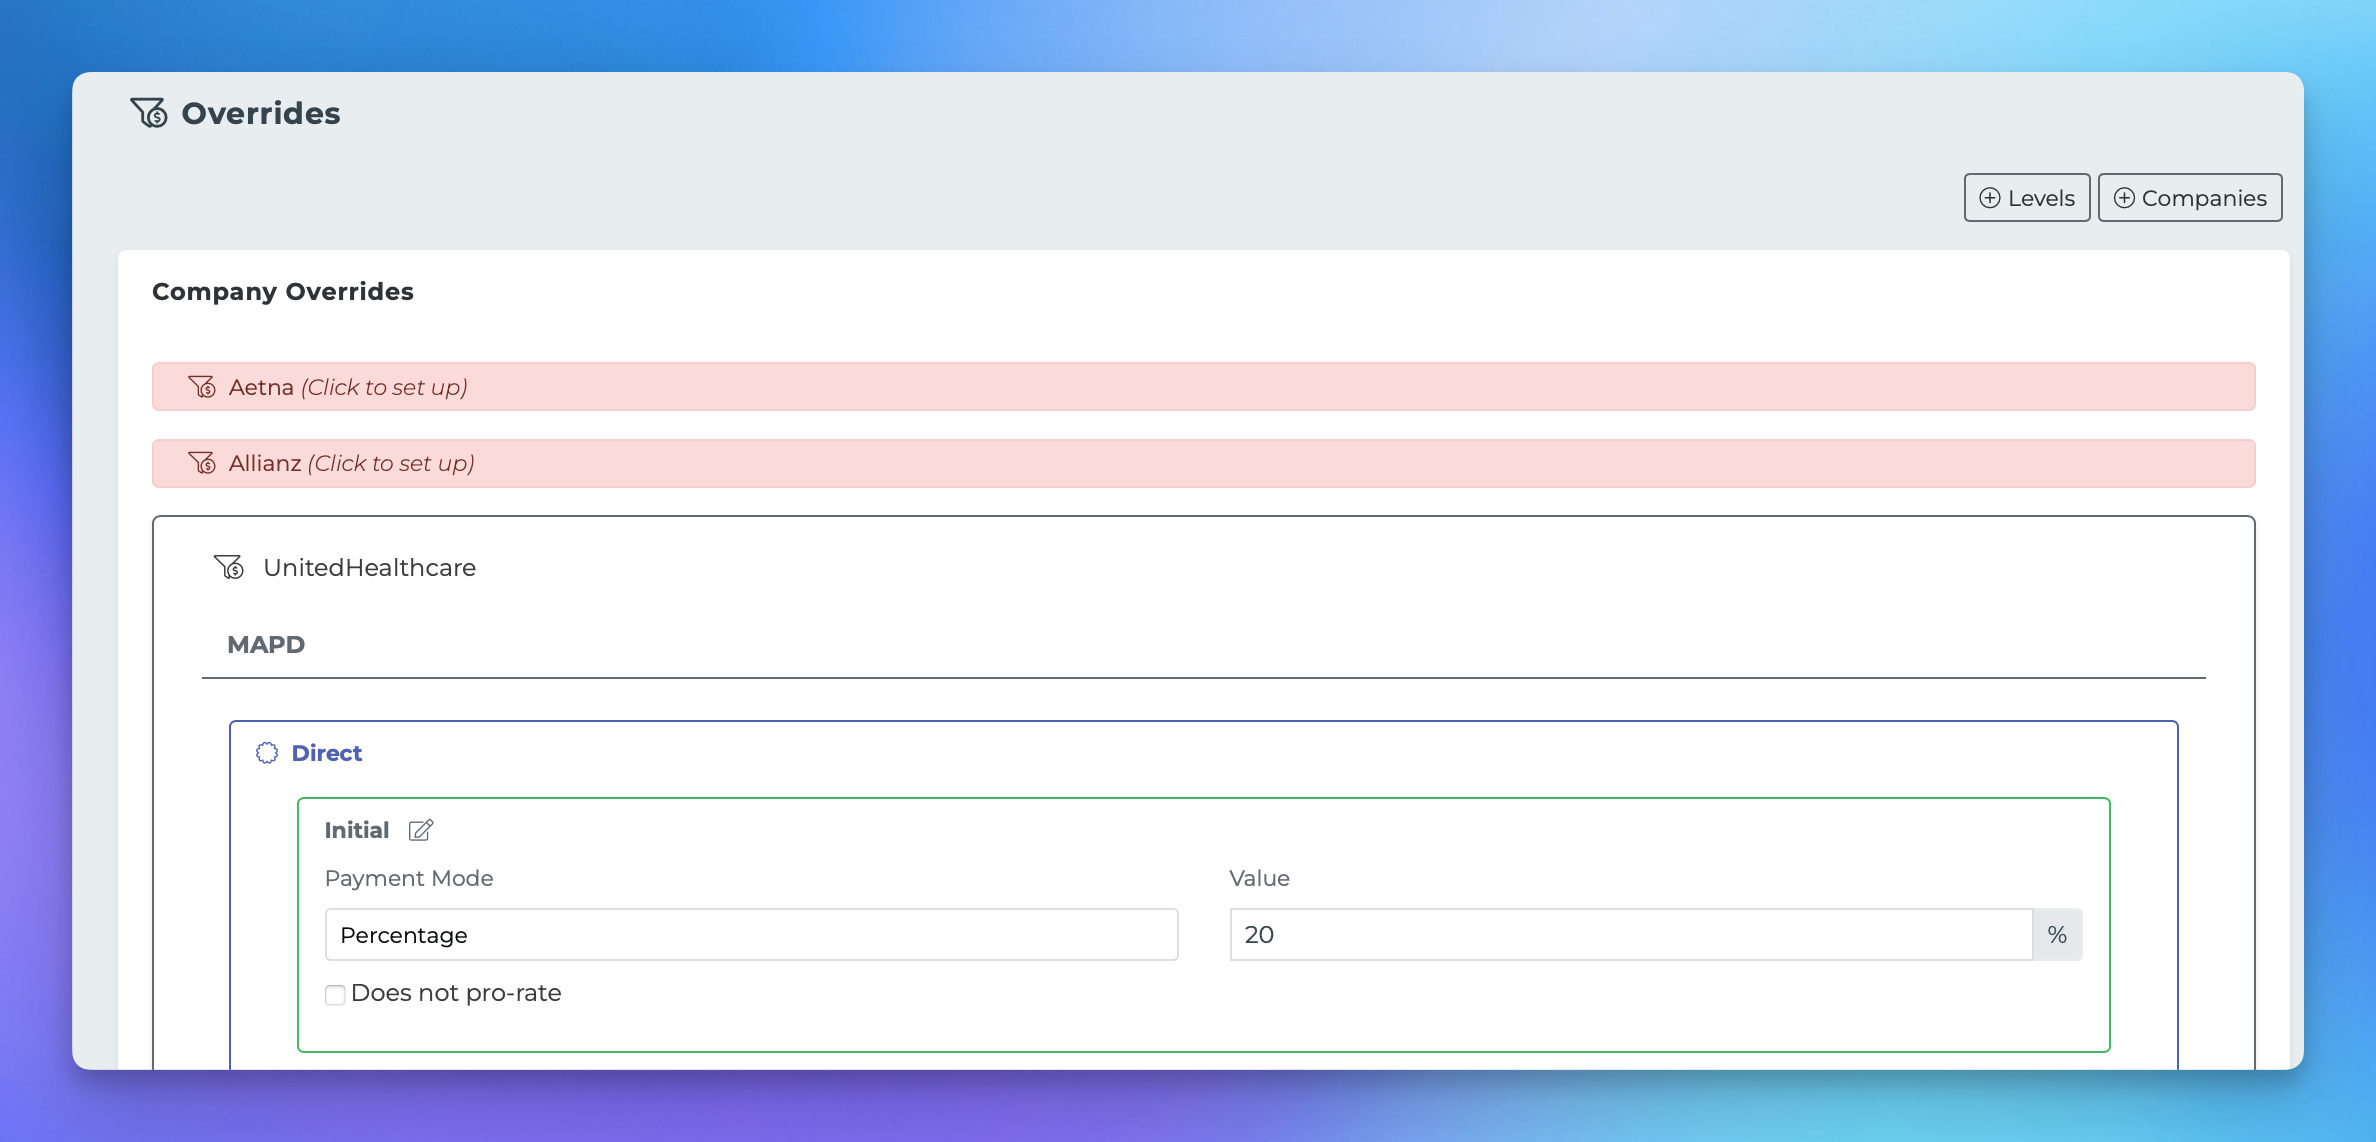
Components of the Overrides Page
The Overrides page consists of two main components: Companies and Levels.
Adding and Editing Companies
If there are no override schedules established, you can initiate the process by clicking the "+ Companies" button located in the top right corner of the page.
Next, select the company and the respective product types you wish to set up, and then click "Add." The newly added company will appear in your list, but it will initially display $0 values.
To edit the newly added company, locate it in your list and click on it. Each company will be organized by product type and contract level. Click on each product type and contract level to input the appropriate values.
Adding and Editing Levels
The Agency Platform comes with two default contract levels: Direct and Non-Direct. If you require additional levels to define override amounts, you can create them by clicking the "+ Levels" button at the top of the page.
This action will open the Levels editor modal, where you can name your new level and save it. Once created, this new level will be editable from every company listed below.
By following these steps, you can effectively manage your override schedules within the Agency Platform, ensuring that your operations run smoothly and efficiently.