
Using Questionnaires in Client Portals
Once you've built a questionnaire, you can attach it to any client portal so the client fills it out themselves through the portal's web interface. Their answers save directly to their profile in the CRM.
Adding a Questionnaire to a New Portal
Go to Client Portals and click + New Portal.
Fill out the basics (name, type, theme).
In the Content Sections list, find the Questionnaire section.
In the Select a questionnaire... dropdown, pick the one you want.
Save the portal.
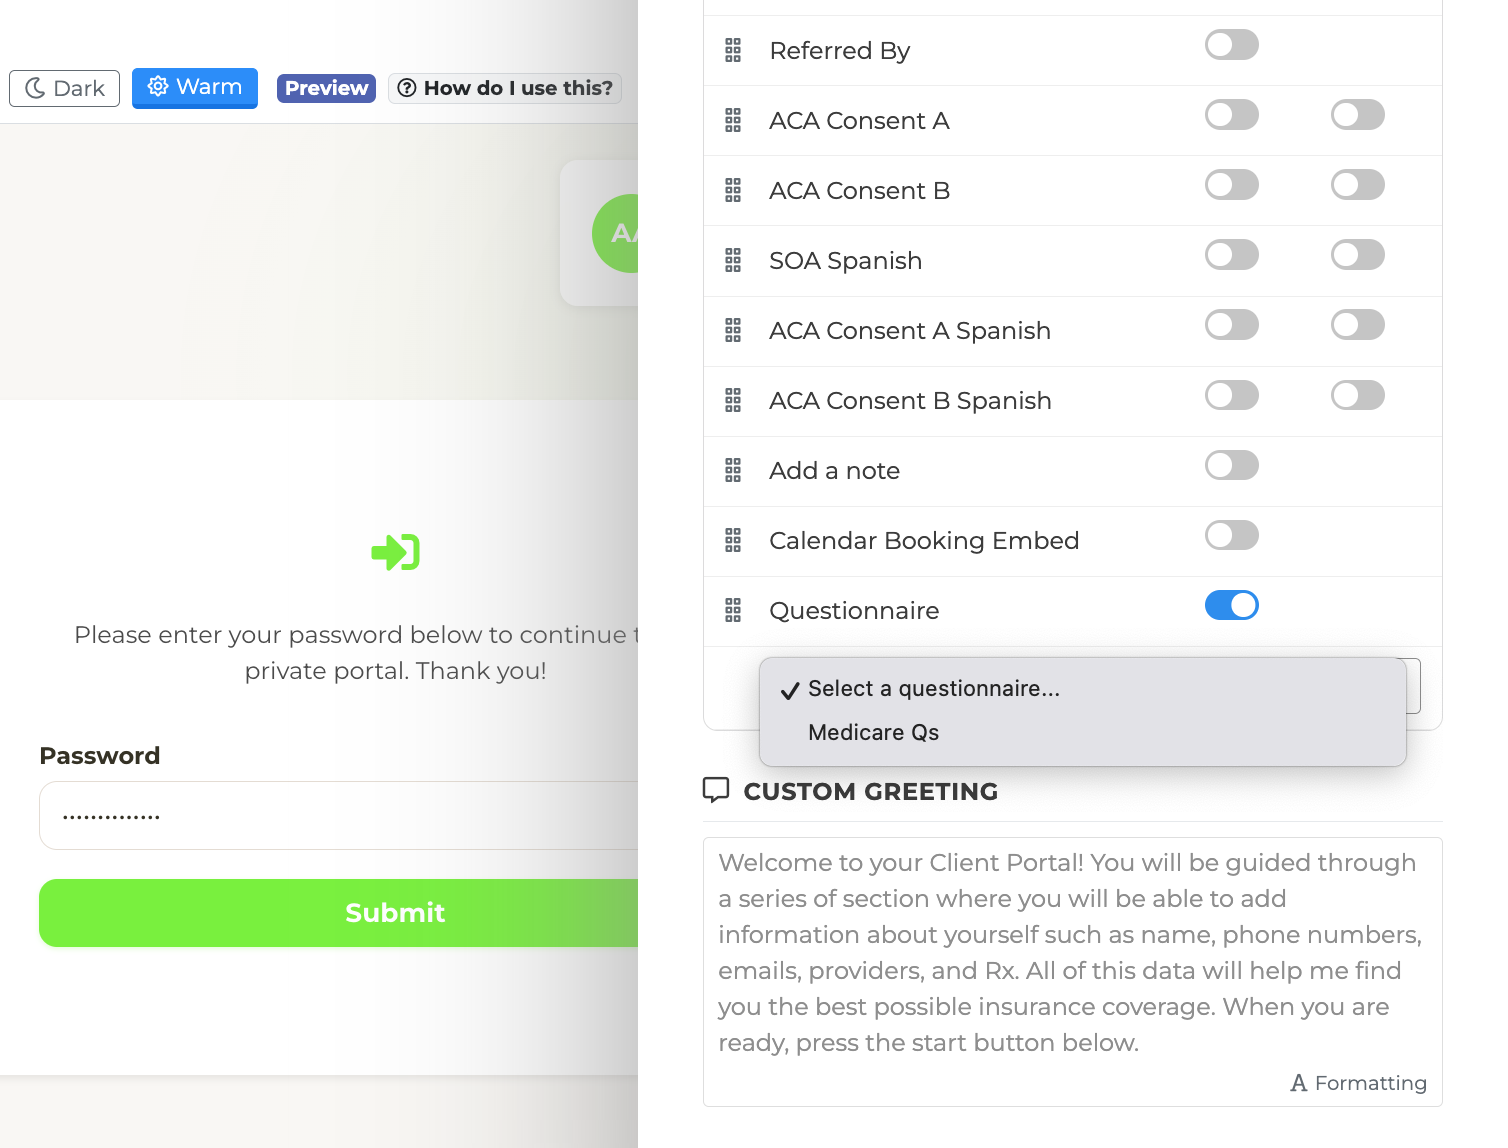
No questionnaires yet? The dropdown will show "Create a questionnaire" — click it to jump over to the Questionnaires tab and build one first.
Adding a Questionnaire to an Existing Portal
Open the portal, scroll to the Questionnaire section in the content list, and pick from the dropdown. Save. Done.
What the Client Sees
When the client opens the portal, the questionnaire appears as one of the portal's sections. They click in, answer the questions one at a time, and submit. If you set up branching in the Flow tab, the path adapts to their answers.
Where the Answers Go
Answers from a portal questionnaire save to the client's profile in your CRM, in the Questionnaire Answers panel. See Where Questionnaire Answers Live for details on viewing and re-running.
Tips
One questionnaire per portal — each portal record holds a single questionnaire. If you need different question sets for different audiences, build separate portals.
Edit the questionnaire any time — changes apply to anyone who opens the portal after the edit. Already-submitted answers are unaffected.
Cloning a shared portal automatically clones its attached questionnaire too, so the downline agent gets their own editable copy.