Tasks — Task Editor Panel
The Task Editor is a side panel that opens when you click on a task. It shows all task details and lets you make changes without leaving the Tasks page.
Opening the Editor
Click any task row (in List View) or task card (in Card View) to open the editor panel on the right side of the page. The main task list narrows to make room.
To close the editor, click the right arrow button at the top of the panel.
Task Header
At the top of the editor you will see:
The task title in large text
The description below the title in smaller text
If the task is completed or canceled, the title shows with a strikethrough and a "Closed" badge
Below the header, an "Edit Details" button expands the form fields so you can make changes. Click "Hide Details" to collapse them again.
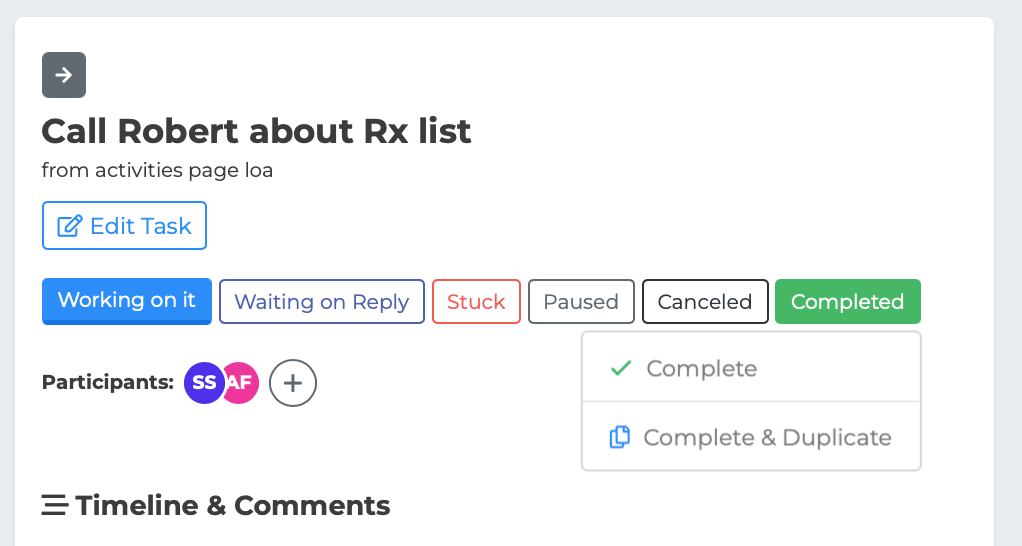
Quick Status Buttons
Below the header, Quick Status buttons let you change the task's status with one click:
Working on it (blue)
Waiting on Reply (teal)
Stuck (red)
Paused (gray)
Completed — This opens a small dropdown with two options:
- Complete — Marks the task as completed - Complete and Duplicate — Marks it as completed and creates a copy of the task
These buttons are only visible to participants who have edit access (Creator, Assignee, or Collaborator).
Editable Fields
Click "Edit Details" to expand the form. The following fields are available:
Title — A text field for the task name. This is required.
Description — An optional text area for additional context or instructions.
Priority — A dropdown with three options: High, Medium, or Low.
Category — A dropdown showing all available categories. You can also type a new category name to create one on the fly.
Status — A dropdown with all status options: Working on it, Waiting on Reply, Stuck, Paused, Completed, and Canceled.
Deadline — A date picker. After selecting a date, the editor shows urgency text below the field:
"Overdue" in red if the deadline has passed
"Due today" in magenta if the deadline is today
The date in gray otherwise
Assigned to — A dropdown listing all team members. The current user appears with "(Me)" next to their name. Select "Unassigned" to remove the assignment.
Link to Profile — A search field that lets you connect the task to an individual in your system. Start typing a name and select from the results. Once linked, the individual's name appears as a green badge that you can click to view their profile. Click the X to unlink. An "undo" option appears in case you unlink by accident.

Saving Changes
After making edits, click the "Save" button at the bottom of the form. The button spans the full width of the panel.
To delete a task, click the trash icon button below the Save button. A confirmation dialog will appear.
Read-Only Mode
If you are a Watcher on a task (view-only access), the editor shows the task details but does not display the Quick Status buttons or the Edit Details form. A "Viewing only" label with an eye icon appears instead.
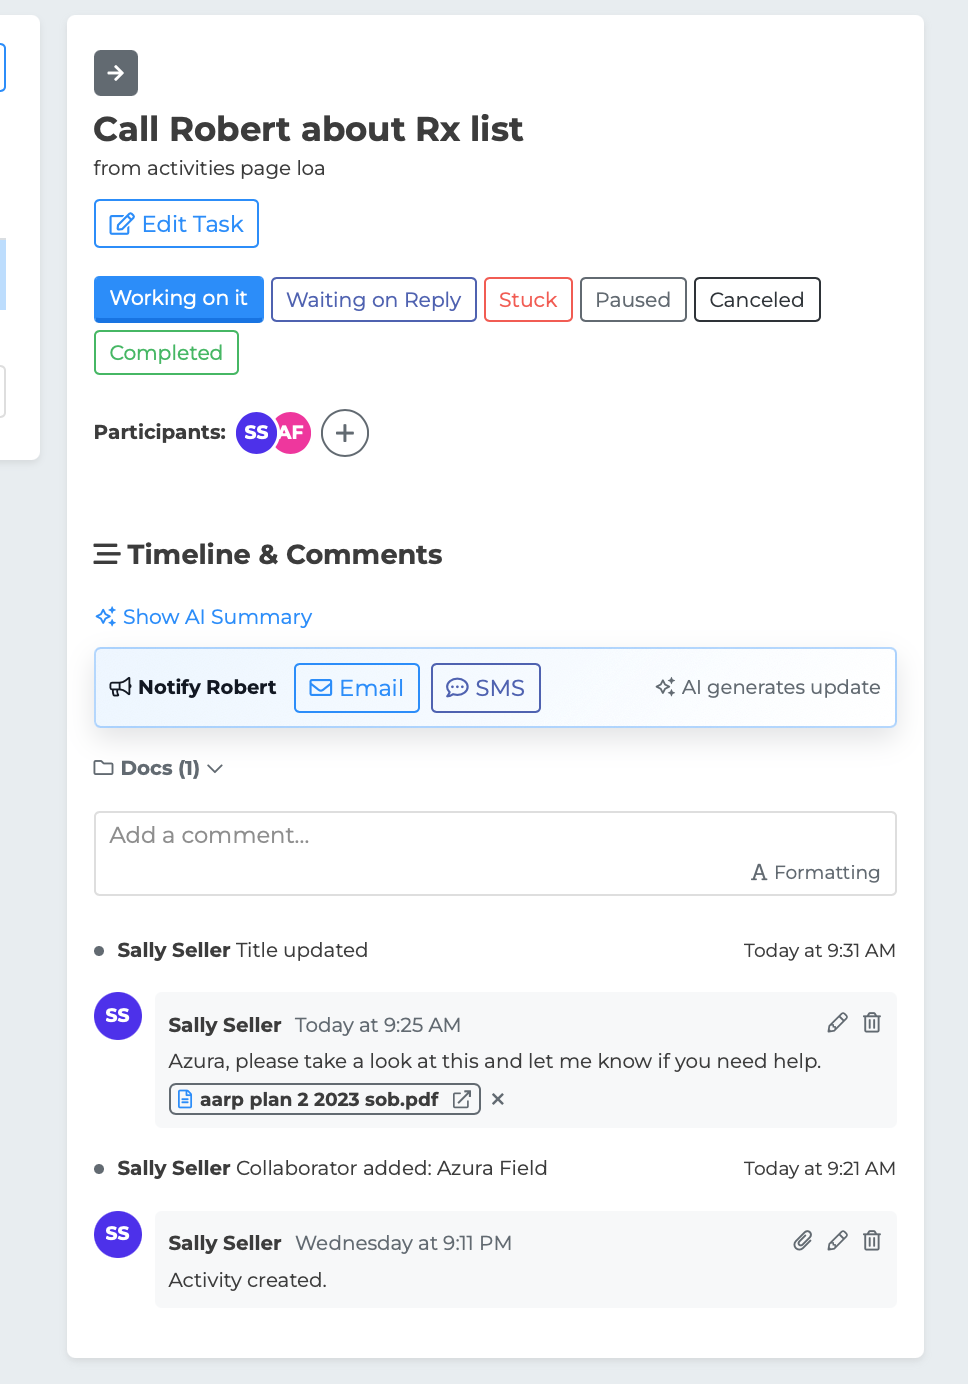
Timeline and Comments
Below the task details is the Timeline section, which shows the full history of the task.
The timeline includes two types of entries:
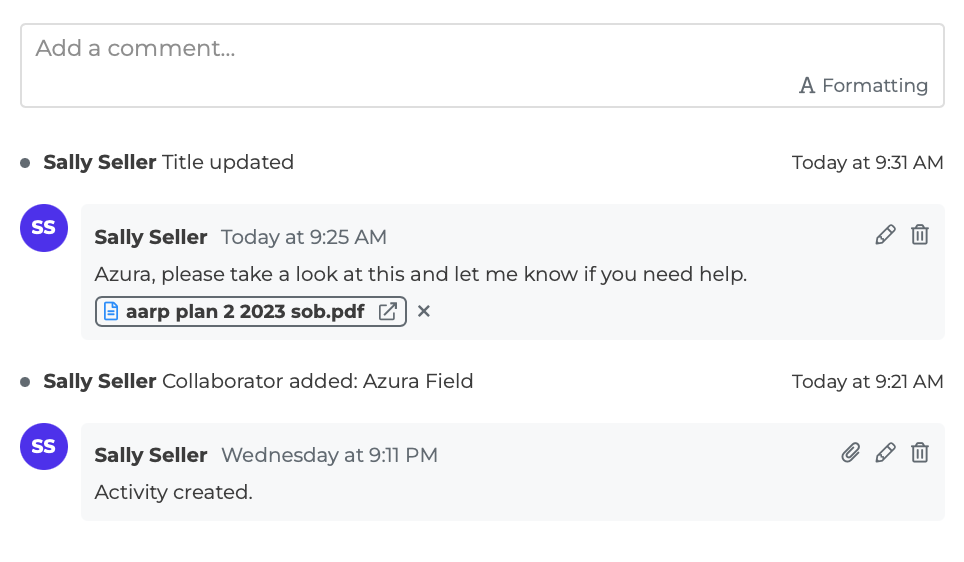
Comments — Messages left by participants. Each comment shows the author's avatar (colored circle with initials), their name, a relative timestamp (e.g., "Today at 3:15 PM" or "Yesterday at 10:00 AM"), and the comment content.
System Events — Automatic entries tracking changes like status updates, assignment changes, and profile linking/unlinking. These appear as smaller inline entries with an icon.
Adding a Comment
At the top of the timeline, a text area labeled "Add a comment..." lets you type a new message.
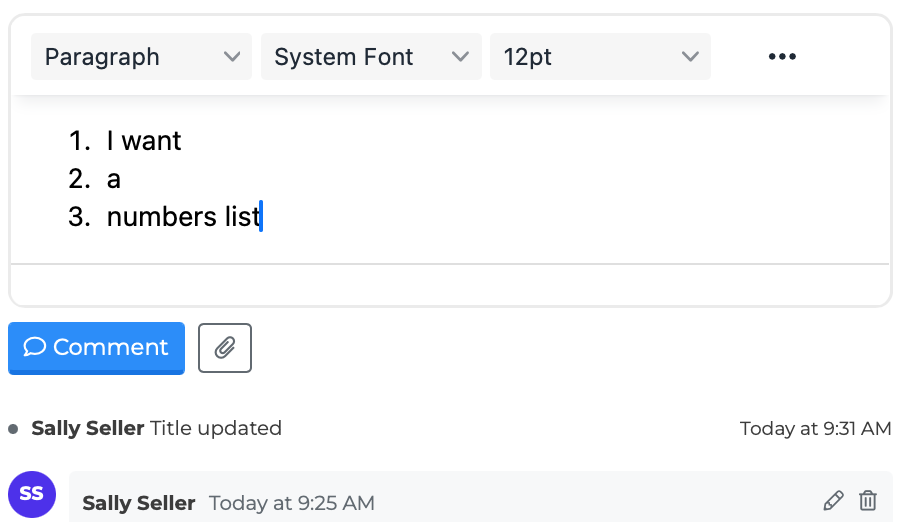
Click "Formatting" to switch to a rich text editor with support for bold, bullets, and checklists.
Click the "Comment" button to post your message.
If the task is linked to an individual, a paperclip button appears for attaching a document. See the Document Attachments article for details.
Editing a Comment
If you wrote a comment, you can edit it later:
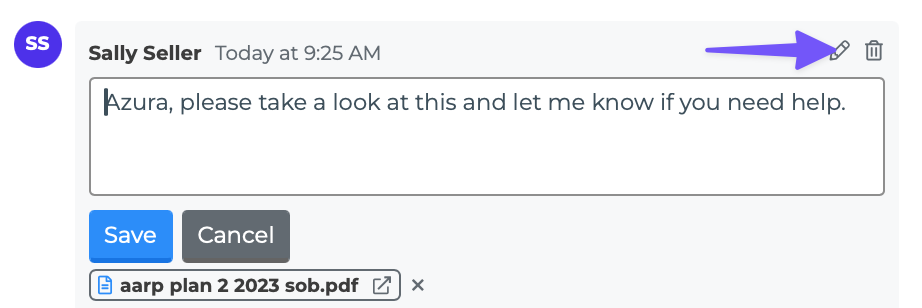
Hover over your comment to reveal the pencil icon.
Click the pencil icon to switch the comment into edit mode — the text becomes an editable text area.
Make your changes.
Click "Save" to apply the edit, or "Cancel" to discard changes.
Only the original author of a comment can edit it.
Deleting a Comment
Hover over your comment and click the trash icon. A confirmation dialog appears before the comment is permanently removed. Only the original author can delete a comment.
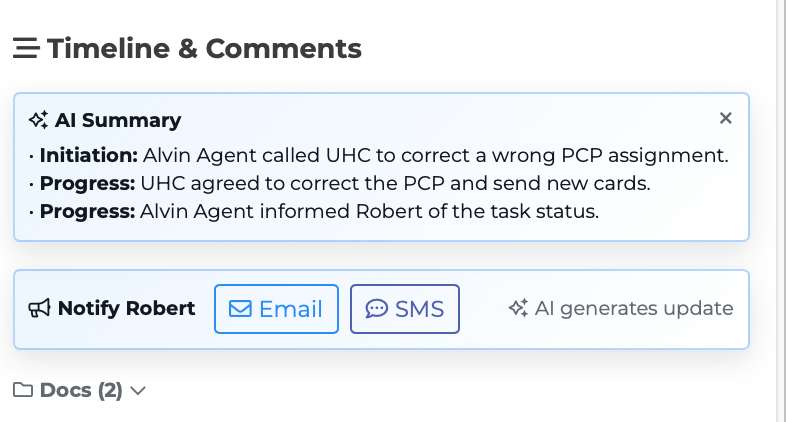
AI Summary
When a task has two or more comments, the system automatically generates an AI-powered summary. This summary appears as a card above the timeline with an "AI Summary" heading and a sparkle icon.
The summary is organized into labeled categories:
Initiation — How the task started
Progress — What has been done
Current Status — Where things stand now
Resolution — How the task was resolved (if applicable)
If the AI detects that a task appears to be resolved but is still open, a "Mark as Completed" button appears below the summary with a note saying "AI detected this task may be resolved."
You can hide the AI Summary by clicking the close button. A "Show AI Summary" link appears so you can bring it back.
The summary updates automatically when new comments are added. It is cached so it loads quickly on repeat visits.